Following my previous post about implementing a CMS for my portfolio web application, I have also added a 3D scene in the background that included a fox. The fox would run around, following the uesr’s cursor.
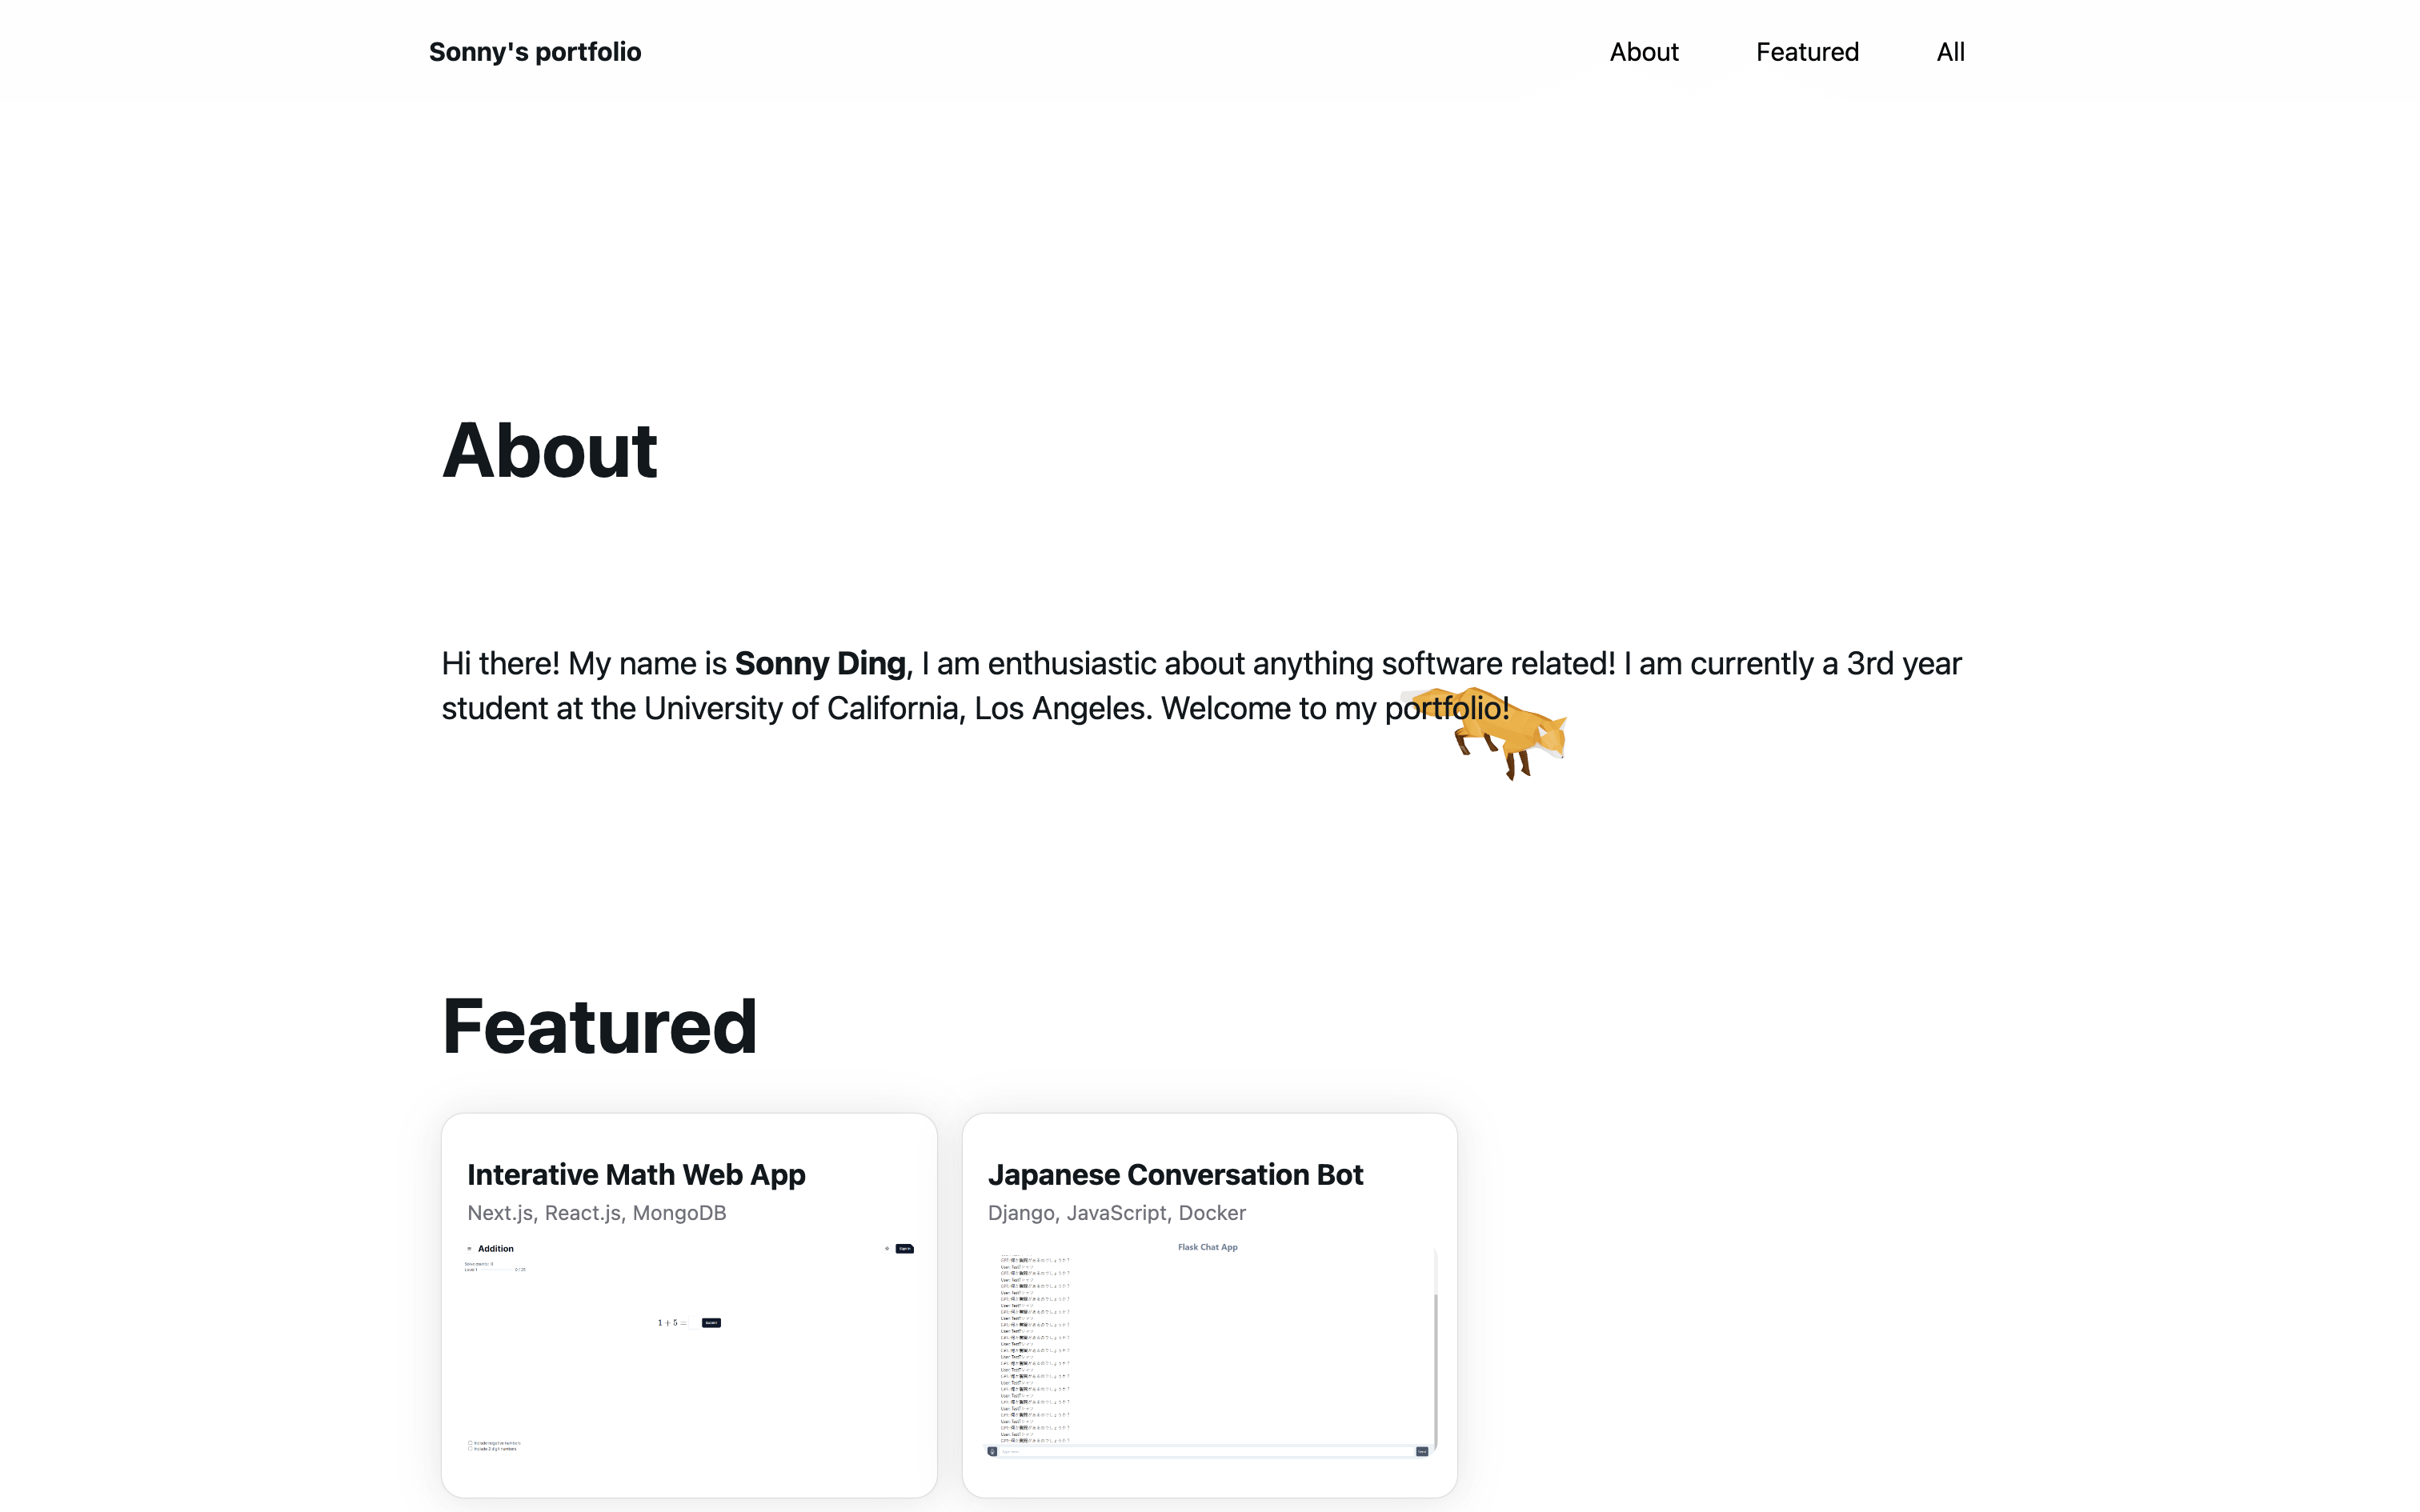

Check it out here!
Set up the 3D scene
Since my project is using React, I chose to use React Three Fiber and Drei. React Three Fiber is kind of like a translator that translates our React code into three.js code.
<div className="fixed top-0 left-0 w-screen h-screen -z-10">
  <Canvas>
    <Fox />
  </Canvas>
</div>
I placed this code snippet at the same level as my landing page elements. I gave my Canvas for the 3D scene the dimension of the entire screen, and made sure that it is not affected by scrolling, and is hidden in the background so it won’t prevent normal clicking events.
Load glTF model
I used an open source model from this GitHub repo. The model already includes the vertices, materials, animations and so on, all I had to do was to load it into my project.
export default function Fox() {
  const gltf = useLoader(GLTFLoader, "/fox_gltf/Fox.gltf");

  return (
    <primitive
      object={gltf.scene}
      rotation-x={Math.PI * 0.2}
    />
  );
}
The above approach essentially bulk loads the entire fox scene, instead of unpacking the glTF file, and then load them step by step. Very convenient. I’ve also added rotation along the x-axis to emulate a semi top down view.
Perspective
A camera may be perspective or orthographic. In our case, I definitely want an orthographic view, but by applying an orthographic view, there is now z-fighting on different parts of my fox model. So there was a compromise, I ended up using a perspective camera with FOV of 1, and tweaked some parameters including my fox’s scale, camera’s distance from the origin and so on.
<Canvas camera={{ position: [0, 0, 20], fov: 1 }}></Canvas>Project browser coordinates to three.js coordinates
Initially, I naively thought I could just map browsers coordinates to three.js coordinates by using some math:
var vec = new Vector3();
vec.set(
  (event.clientX / window.innerWidth) * 2 - 1,
  -(event.clientY / window.innerHeight) * 2 + 1,
  0.5
);
And then if I apply some scaling constant, I can have my fox move to precisely where my cursor is at. This is absolutely false, because I am still using an orthographic camera. In reality, by applying the above script, I observed greater error as the distance between the cursor and the center of the screen is further apart. I ended up finding the correct method in this post, and wrote this:
useEffect(() => {
  const handleMouseMove = (event: { clientX: number; clientY: number }) => {
    var vec = new Vector3();
    var pos = new Vector3();
    vec.set(
      (event.clientX / window.innerWidth) * 2 - 1,
      -(event.clientY / window.innerHeight) * 2 + 1,
      0.5
    );
    vec.unproject(camera);
    vec.sub(camera.position).normalize();
    var distance = -camera.position.z / vec.z;
    pos.copy(camera.position).add(vec.multiplyScalar(distance));

    setFoxDestination(pos);
  };

  // ...
}, [camera]);
Where camera is obtained by calling const { camera } = useThree();. So, every time the dimension of the camera or the browser changes, we recompute the mapping between the browser coordinates and the three.js coordinates.
Animation
The fox model included 3 animations, Survey, Walk, Run. I coded its animation such that if the fox arrives at its destination (the cursor location), survey. If the distance is over a certain threshold, run. Else, just walk. I updated the animations in a function called useFrame(), which is triggered on each frame:
useFrame((_state, delta) => {
  const distance = foxPosition.distanceTo(foxDestination);
  console.log(distance);
  if (distance > 0.01) {
    const direction = foxDestination.clone().sub(foxPosition).normalize();
    const newFoxPosition = foxPosition
      .clone()
      .add(direction.multiplyScalar(foxSpeed * delta));
    setFoxPosition(newFoxPosition);

    // animation
    if (!isFoxRunning && distance > 0.15) {
      setIsFoxRunning(true);
      setFoxSpeed(0.15);
      if (actions?.Survey && actions?.Walk && actions?.Run) {
        actions.Walk.fadeOut(0.2).stop();
        actions.Survey.fadeOut(0.2).stop();
        // actions.Walk.fadeIn(0.2).play();
        actions.Run.setEffectiveTimeScale(2);
        actions.Run.fadeIn(0.2).play();
      }
    }
    if (!isFoxMoving && distance > 0.02) {
      setIsFoxMoving(true);
      setFoxSpeed(0.07);
      if (actions?.Survey && actions?.Walk && actions?.Run) {
        actions.Survey.fadeOut(0.2).stop();
        actions.Walk.fadeIn(0.2).play();
        // actions.Run.fadeIn(0.2).play();
      }
    }

    const angleInRadians = Math.atan2(direction.x, -direction.y);
    setFoxXRotation(angleInRadians);
  } else {
    // animation
    if (isFoxMoving) {
      setIsFoxMoving(false);
      setIsFoxRunning(false);
      if (actions?.Survey && actions?.Walk && actions?.Run) {
        actions.Walk.fadeOut(0.2).stop();
        actions.Run.fadeOut(0.2).stop();
        actions.Survey.fadeIn(0.2).play();
      }
    }
  }
});
In the function above, I also computed the fox’s rotation and its travel speed. Notice how every update is multiplied by delta to prevent fox speed varying on machines with different frame rates.
Conclusion
By implementing this feature, I noticed how incorporating 3D objects in a React application is actually relatively easy, mainly because React Three Fiber and Drei have applied layers of abstractions on top of three.js, and they saved me from writing so many lines of code. Please checkout my portfolio page: https://sonnyding-portfoilio.vercel.app/